How to make an orthographic locator map using MAPublisher
An orthographic map is like a view from space. It’s useful for directing attention to some place on the planet.
This video shows how an orthographic locator map is made in Illustrator using MAPublisher. If you have any questions, or if anything isn’t clear, let me know. The template I use in the video is here.

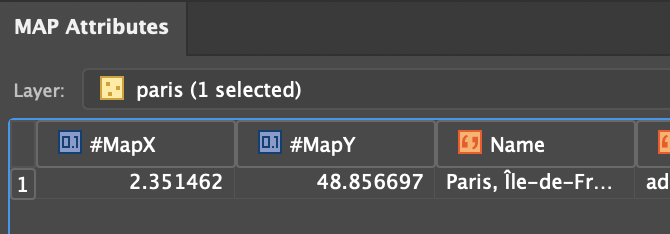
We’ll start off by locating Paris on the map using Find Places. We need the latitude and longitude to create two projections.
Get the Latitude and Longitude from Map Attributes. You’ll have to turn MapX and MapY fields on. MapX is longitude. MapY is Latitude.
In Map Views, click on the projection, (ne_110m_land), and Perform Coordinate System Projection.
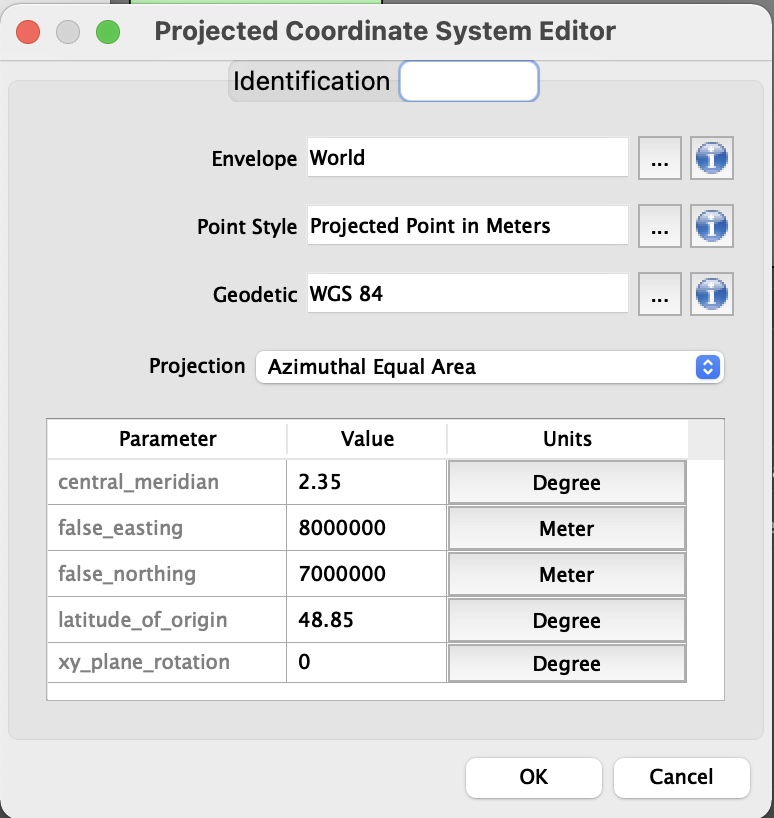
Select Projected Coordinate Systems and search for Azimuthal Equal Area. Duplicate, rename, and set the definitions for the central meridian and the latitude of origin. There might be more than one. Pick one.
Select Projected Coordinate Systems and search for Orthographic. Duplicate, rename, and set the definitions for the central meridian and the latitude of origin. There might be more than one. Pick one.
Select the new azimuthal projection, the one you created, and click OK to use it.
We use the azimuthal projection to crop data before creating the orthographic projection. Otherwise there will be overlapping imagery.
Create a buffer for the Paris point that is 10002.5 km around the point. This will be located on a new layer.
Use the path utilities to convert the bezier circle into polylines.
Reproject the map to the orthographic projection. Crop again with the circle buffer.
Delete the water layer. It will be replaced with a gradient.
Add a radial gradient to to the buffer circle and move the circle below the other layers.
And now you have an orthographic locator map that you can continue to style and label for your purposes.