Tompkins County Relief background in QGIS
In my previous post, I created terrain for the Tompkins County map in Natural Scene Designer. Then I imported the terrain into Illustrator using MAPublisher.
In this video, I try to get a similar result in QGIS.

Data source
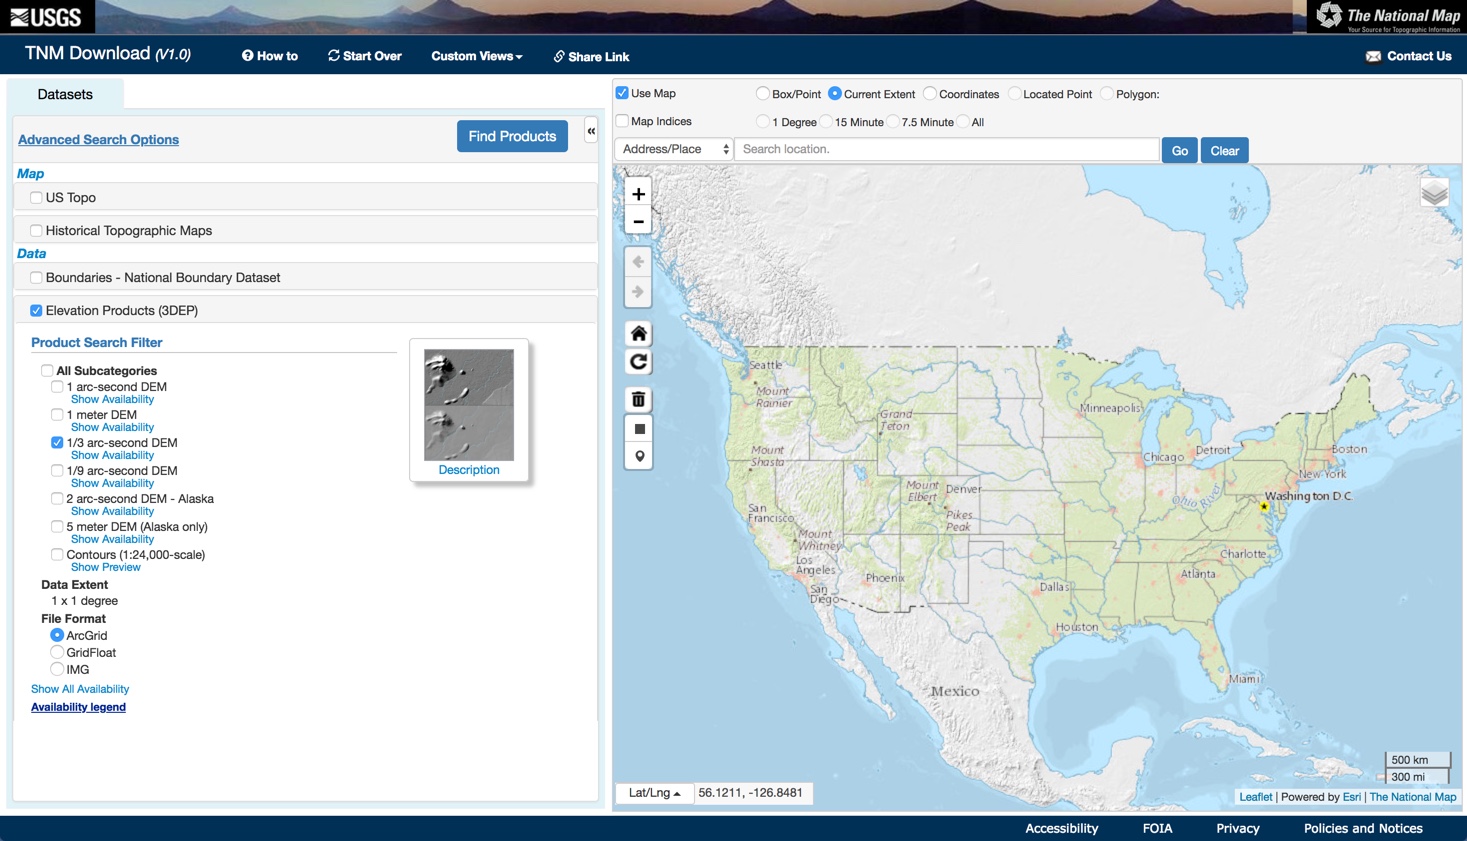
I download a DEM from viewer.nationalmap.gov/basic. This page lets you select an area on map and see the availability of the selected data on the left. I’ve selected 1/3 Arc second DEM data.
Each zipped file is about 350 mb, and this unzips to about 450 mb. So downloading a lot of these can take a fair amount of time and disk space.
Project Resources
Process Overview
- Start up QGIS, and import the DEM.
- Use the Warp Tool from the menu, setting preferences
- Output file
- Desired target projection (NAD83 NY Central meters, EPSG:32116)
- Create a new QGIS project and set the project’s properties to On-the-fly projection and NAD83 NY Central meters.
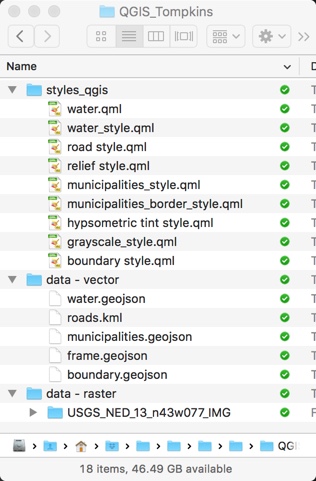
- Import the vector data and the reprojected DEM.
- Duplicate the DEM so that you have three separate layers, (hillshade, grayscale, colored hypsometric tint).
- Load the layer styles, and modify the colors and transparency settings to get the desired effect.
Exporting the data back into Illustrator
I use two approaches to using QGIS and Illustrator together.
####Export from QGIS Composer
One is to export from the map composer. You can export layers individually and copy and paste in front in an Adobe Illustrator document. Whenever there’s a revision, you can export data for the layer needed. This is possible as long as the the Map Composer dimensions don’t change.
I have better results if I export raster imagery separate from vector graphics and text.
####Export Images from the QGIS Layers Panel
Export the layer directly from the layers panel as a geotiff, making sure that Output Mode is Rendered Image. This can be placed into a MAPublisher projected map view in Illustrator and registered as shown in the video. The reference file for registering the image is the geotiff that was just placed because it contains the needed projection information.
Where things go wrong, or things to consider
- Downloading the right elevation data. Working at a small scale covering a large area, it’s probably better to use 30 or 90 meter resolution.
- A search for dems can lead to data about the DEMs rather than the DEMs themselves.
- If the DEM isn’t reprojected to meters, it will end up blackish and not as desired.
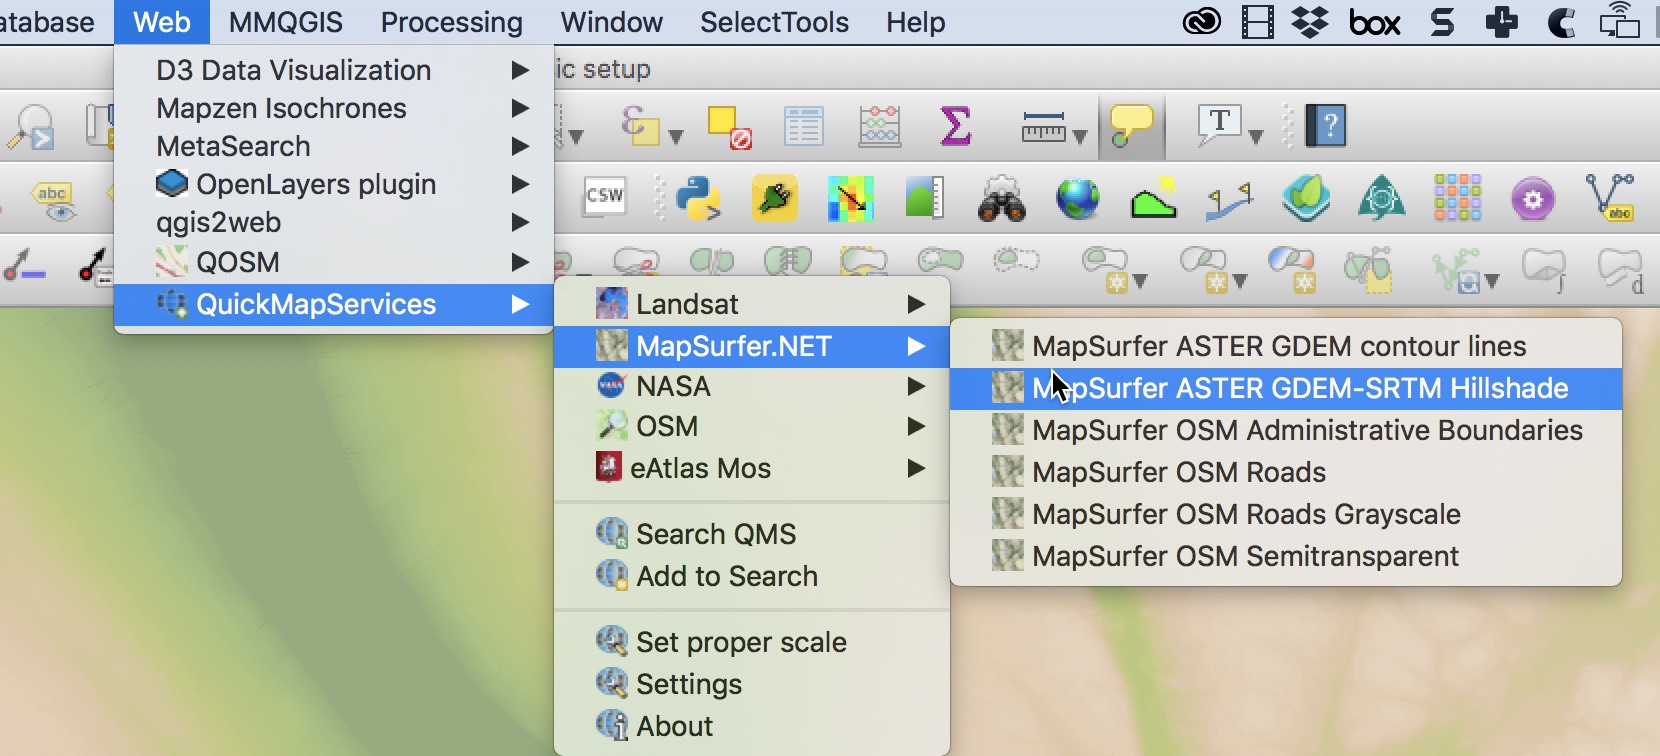
- The Quick Map Services in QGIS can provide a good reference, but it doesn’t offer the control that you get working with a native DEM. I use it as a reference only.
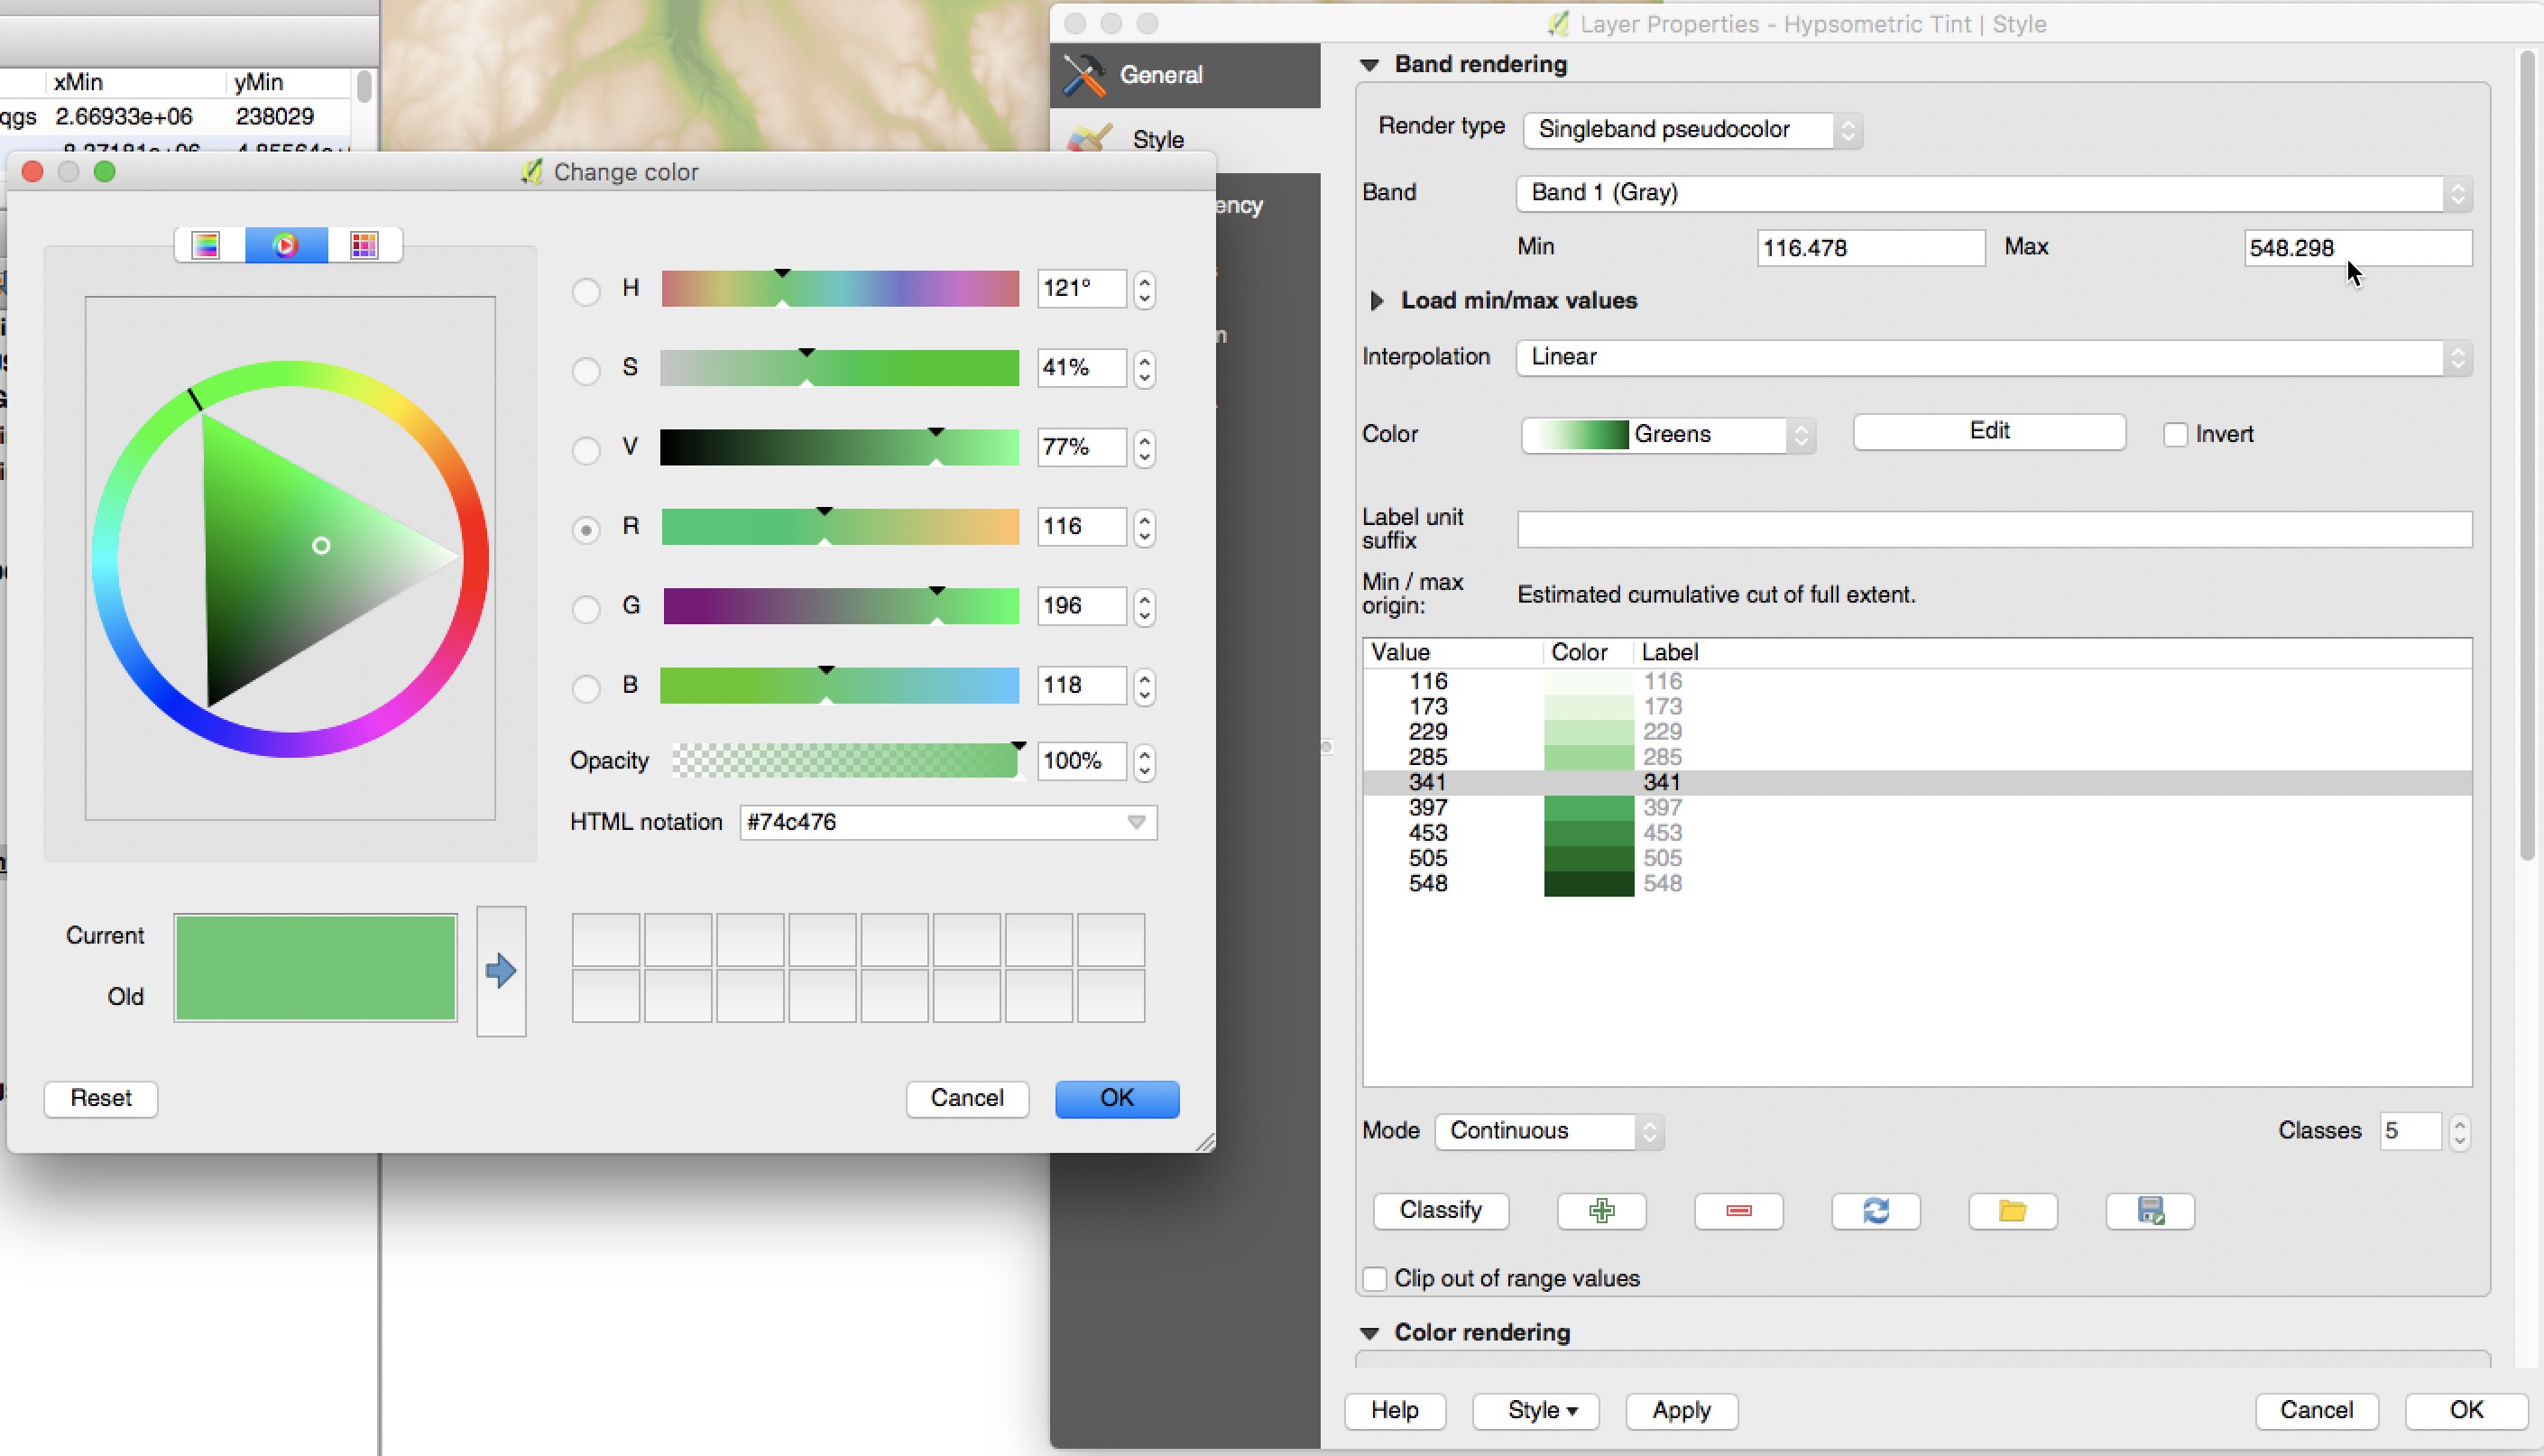
- In the Layer Style Properties, there may not be an option for a DEM. In that case, use a single band pseudocolor. Click on each color to edit it.
- The color space in QGIS is RGB, so it can look a little different when placed into Illustrator with a CMYK workspace.
- Files are too big. Clip the dems to an area slightly larger than the map. It may help to set the output resolution.

Summary
The approach I take to creating DEMs will depend on my workflow. I’m likely to work with the transparencies in Illustrator rather than in QGIS. In this case, I wouldn’t set transparencies in QGIS.
By having terrain in three separate layers, I can layer parks and other areas between the hillshade, grayscale and the hypsometric tint layers.
If I want to keep the map workflow in QGIS, I’ll work with transparencies in QGIS.
This post provides styles that I can use as a starting point for future projects.
References
Making shaded relief from digital elevation models in QGIS… by Morgan Hite. While I didn’t use his approach specifically, his blog post offers a good reference. It caused me to look at the difference between using Warp in the Menu vs. Warp in the processing Toolbox.